Quick Start Guide
Where to start? This quick start guide is meant to get you up and running with a basic unified widget with Social Channels and Live Chat integrations.
Step 1: Configure the Default Widget
Set up your default widget which is shown on your dashboard to control what is shown on your website.
- Name your Widget
- Set your Domain
Go to - Default Widget

Step 2: Add Channels to the Widget
Integrate key communication channels like:
-
Live Chat
-
Social Pages
- Customise Icons
Go to - Add Channels


Step 3: Configure & Customise the Unified Widget
Tailor your widget’s layout, behaviour and branding:
- Channels
- Logo
- Widget Dimensions
- Theme colour
- Tabs
- Text Topography
- Launcher button settings
- Preview Widget
Go to settings and then select Unified Widget under the Widget Configuration Section
Go to - Settings

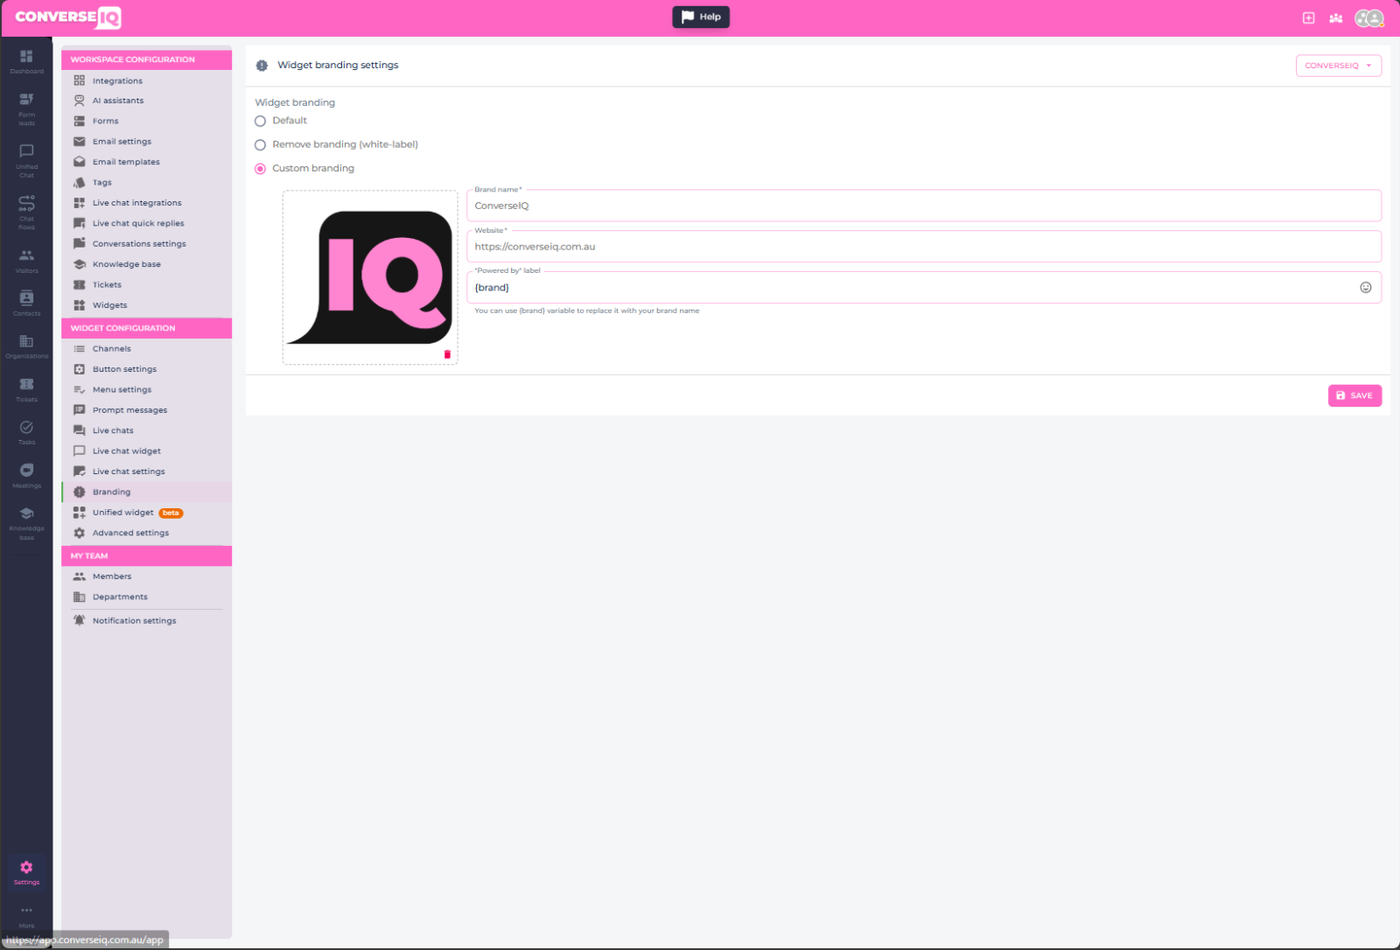
Step 4: Customise Widget "Powered By" Branding
Make the widget match your brand:
-
Brand Name
- Website
- "Powered by" Label
Go to - Widget "Powered by"
Step 5: Configure Email Settings
Set up your outbound and support email settings:
-
Use your email
-
Configure SMTP
-
Set "from email" and "from name"
- enter your mail server host, port and security
- Set your email server username and password
Go to - Configure External Email

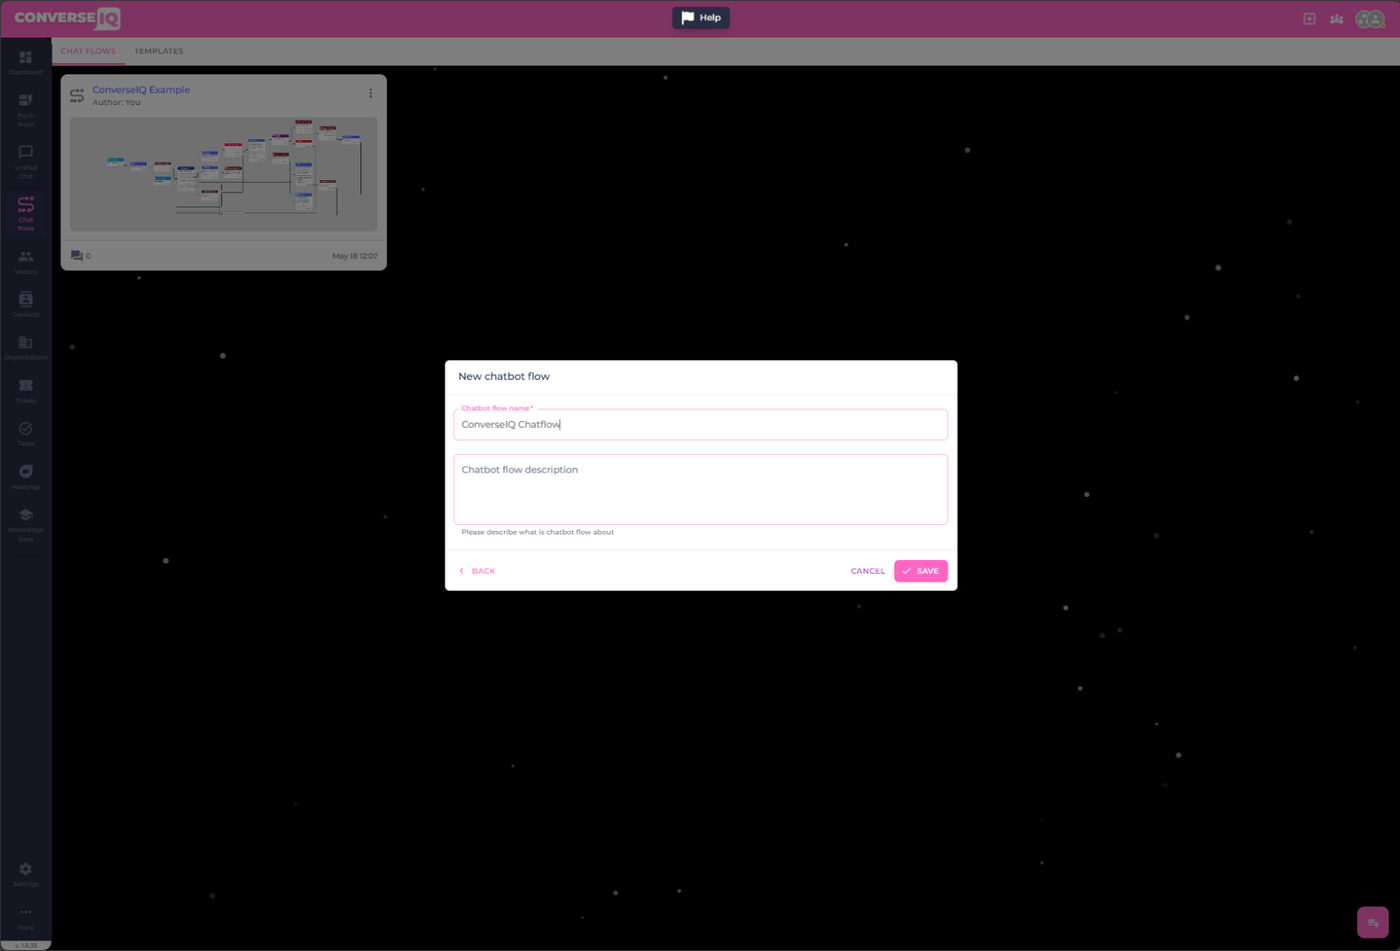
Step 6: Create and Configure Your Chatflow
Build automated conversation flows:
-
Create New Chat Flow
-
Add Live Chat Integration
-
Build your Chat Flow
Go to - Create Chat Flows


You're Ready to Go!
Once these steps are complete, your unified widget will be fully functional and tailored to your brand and customer needs. Just simply copy the Widget Script Code and past it into your website code. Please refer to the following article on how to install a widget on your website: Widget Install
